
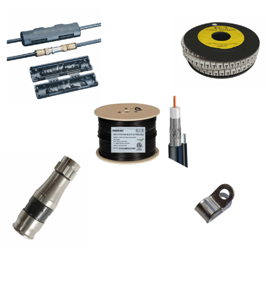


Coaxial cable (RG6/RG59) is widely used for TV, broadband, and security systems. Terminating it correctly ensures a reliable signal and avoids costly rework. This guide covers the full process—from cutting and stripping the cable to installing connectors—along with practical tips for Canadian installations.
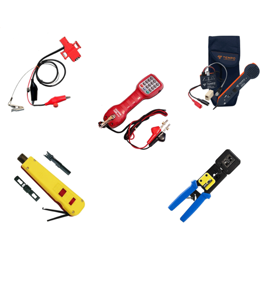
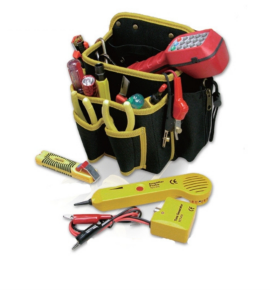
Tools & Materials Needed
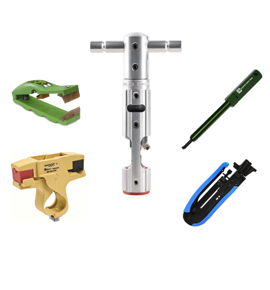
- Coaxial Stripper: For accurate jacket and dielectric removal (e.g. [Cablematic Coax Stripper CCT-38590]).
- Cable Cutter: A clean cut prevents deformation. Use a rotary cutter or heavy-duty scissors.
- Compression/Crimp Tool: For F-type connectors (compression is recommended for outdoor use).
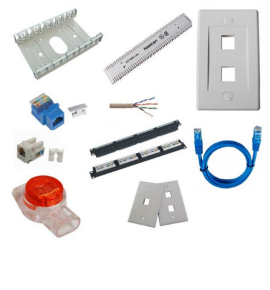
- Connectors: F-type (for RG6) or BNC/RCA (for RG59), preferably weather-resistant models for outdoor runs.
- Cleaning Supplies: Rubbing alcohol and lint-free wipes to clean the cable end.
- Safety Gear: Safety glasses and gloves when cutting or stripping cables.
Investing in quality tools (available in CCT’s cable-tools category) pays off in consistency and speed.
Step 1: Measure and Cut Cable
Measure the run length precisely, including slack for service loops. Mark the cable end and make a straight cut with the cable cutter. A clean, square cut is crucial: a jagged cut can short the shield and impair the connector’s grip.
Step 2: Strip the Cable Jacket
Using the coax stripper, remove exactly the specified lengths of jacket and dielectric (typically 1/4″ + 1/4″ for dual-layer RG6). A dual-stage stripper ensures the braid and foil are cut away in one action. After stripping, comb back the braided shield away from the connector end. Ensure no braid strands touch the center conductor.
Step 3: Trim the Dielectric and Conductor
Place the prepped cable end into the connector and verify that 1/4″ of bare copper center conductor protrudes. If needed, trim the dielectric so the conductor is exposed to the connector tip. Keep the conductor straight and centered.
Step 4: Install the Connector
Slide the F-type compression connector onto the cable until the dielectric rim is flush with the connector base and the braid makes contact with the connector body. Then use the compression/crimp tool to secure it. Compression connectors (vs. screw-on) seal better against moisture—a key tip for Canadian climates. After compression, gently pull to verify a tight fit.
Step 5: Seal and Weatherproof (Outdoor Installations)
For outdoor runs, protect the termination from moisture:
- Use weatherproof connectors (gel-filled or rubber gasket type).
- Wrap self-amalgamating tape around the connector (shingle-style) to shed water.
- Ensure downward-pointing connector orientation. These steps prevent ice and water damage in Canadian winters.
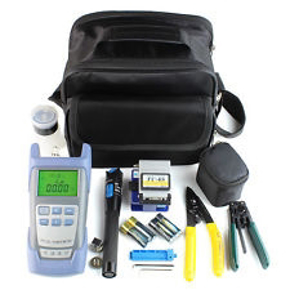
Troubleshooting & Testing
Always test the terminated cable: use a coax tester or signal meter to check continuity and attenuation. A perfect termination should show minimal loss. If the signal is weak or intermittent, re-strip the cable and try a new connector. Common issues include: nicked dielectric (causing shorts) or loose crimp.
Installation Tips (Canada-Focused)
-
Cable Routing: Do not run coax cable parallel to mains power for long distances (to avoid interference). Use separate conduits if needed.
-
Proper Bend Radius: RG6 requires ~10× cable diameter (~1″) bends or larger; avoid sharp kinks.
-
Temperature: In extreme cold, cable jackets stiffen. Strip with gentle steady pressure to avoid splitting.
-
Dry Locations: Indoors, use plenum-rated coax if required by code; outdoors, use UV-rated jackets.
-
Grounding: Bond the coax shield to ground at the service entrance to avoid lightning damage (per local code).
-
Use Sealant: Apply silicone around outdoor wall entries. Moisture is the #1 coax killer.
Two Callouts
For flawless terminations, equip your toolbox with professional gear: Coaxial cable strippers, compression crimpers, and weatherproof connectors from CCT. Ready to install? Buy now and get reliable performance on every job.
Conclusion
Proper termination of coax cable guarantees a strong, clean signal. By following these steps and using the right tools, you’ll avoid signal loss and reworks. Remember to use weatherproof techniques for Canadian conditions.
Ready to work? Check out CCT’s compression crimpers, coax strippers, and outdoor F-connectors to get started.